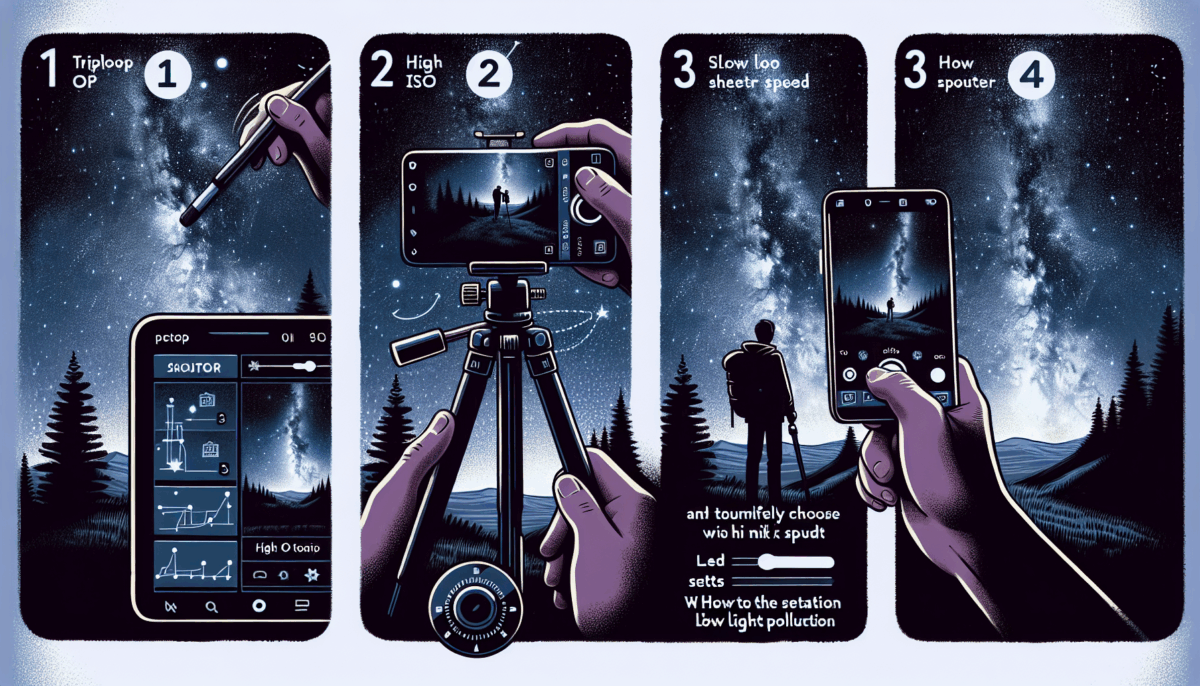
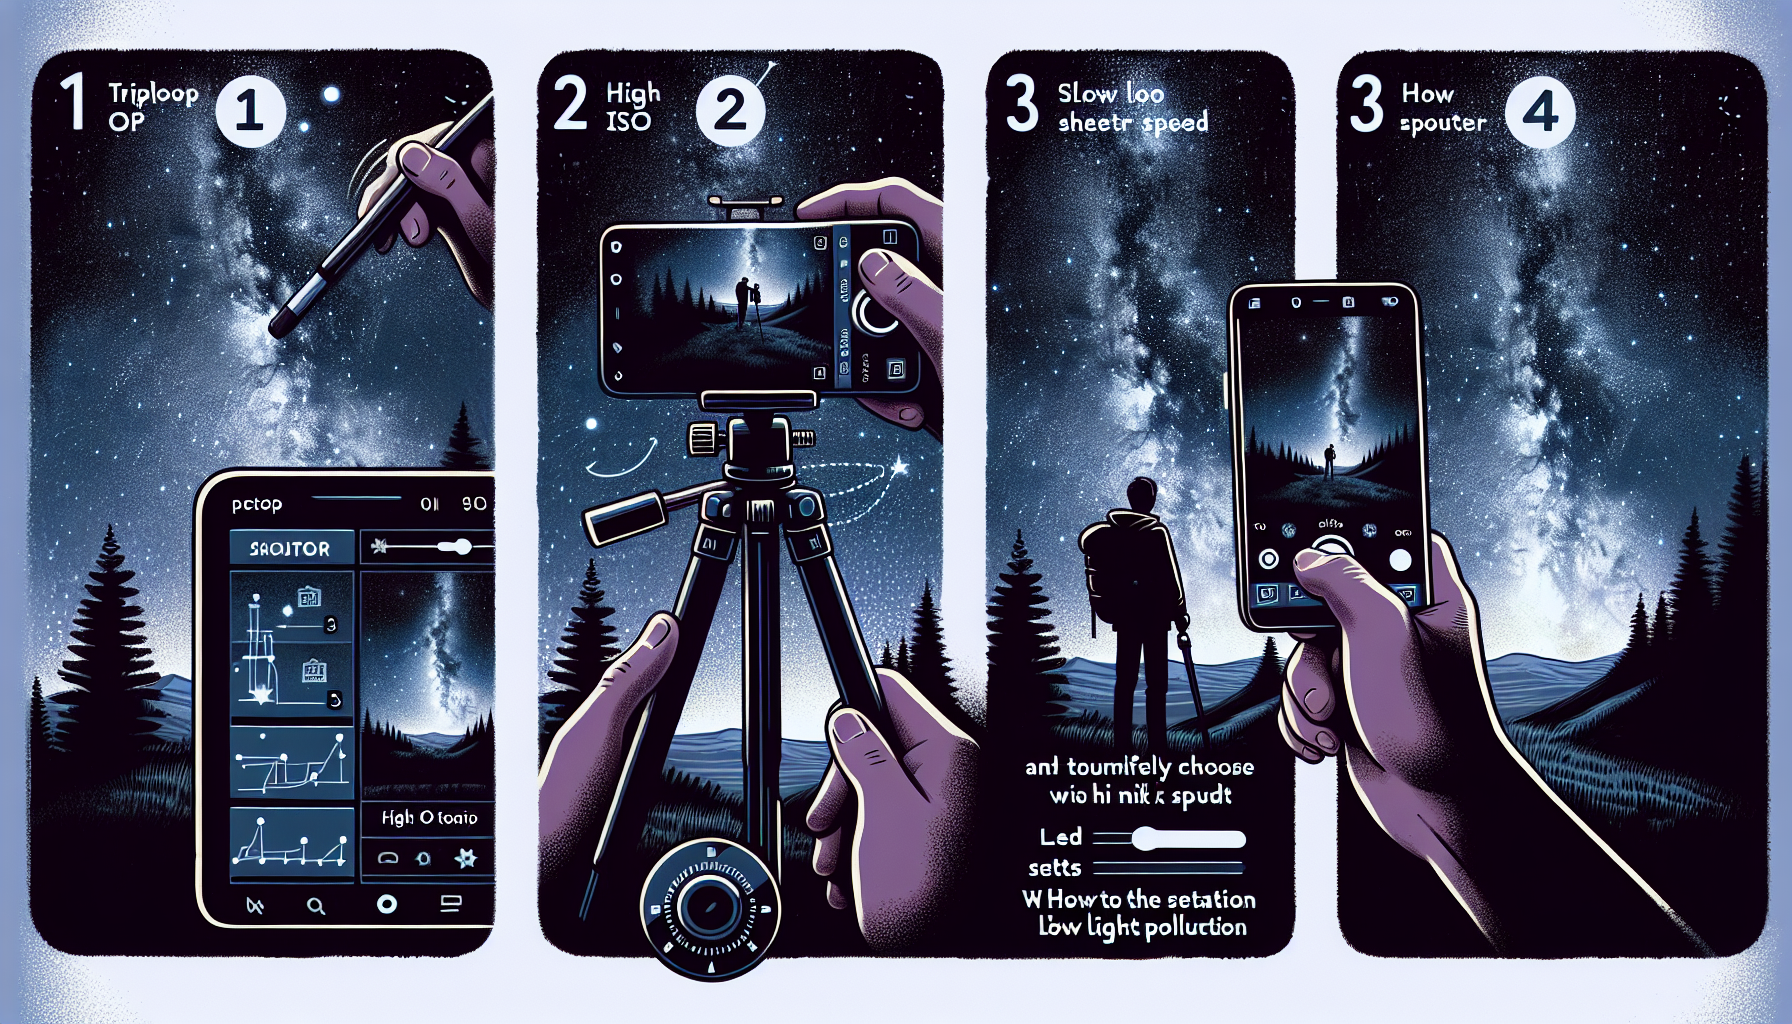
4 Key Tips for Taking Breathtaking Starry Night and Milky Way Images with Your Smartphone
We independently review everything we recommend. When you buy through our links, we may earn a commission which is paid directly to our Australia-based writers, editors, and support staff. Thank you for your support!
Brief Overview
- Select a premium smartphone with manual camera options for astrophotography.
- Play around with ISO settings and exposure durations to achieve remarkable images of the night sky.
- Use a tripod for steady long-exposure photography.
- Pick a location far from light sources to reduce light pollution for clearer images of the stars.
The Ideal Smartphone
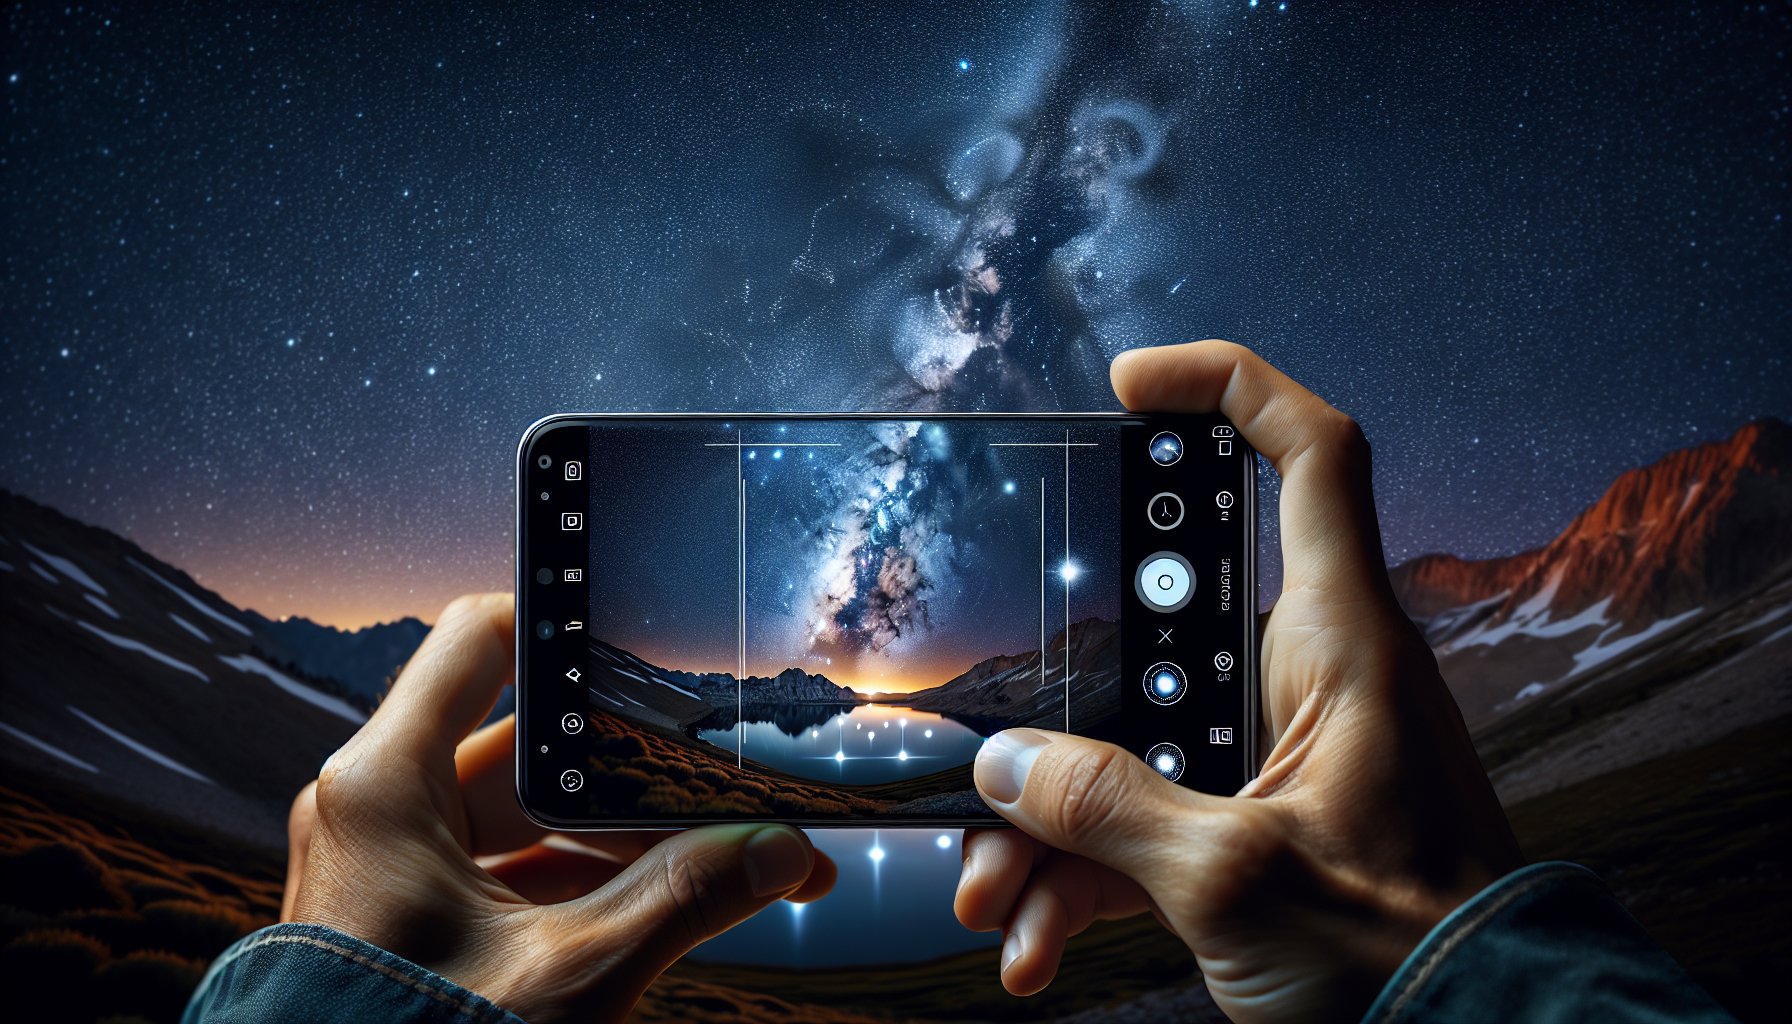
To take remarkable photos of starry nights and the Milky Way with your smartphone, begin with a solid mid-range or high-end device that possesses an excellent rear camera and a superior image sensor. Make sure the camera application supports manual adjustments like custom ISO settings and delayed shutter release. For instance, the Oppo Reno13 Pro 5G is an excellent option for this task.
Optimal Camera Configuration
Modifying your camera configurations is vital for capturing the night sky. Experiment with various ISO values and exposure time based on your surroundings and lunar brightness. Consider the following:
- 15-30 second exposure durations
- 3-second timer to avoid camera shake
- ISO settings between 250-1600, keeping it as low as feasible to retain image clarity
- Direct the camera at different sections of the sky and horizon for artistic captures
These settings can assist in capturing distinctive scenes such as light trails from trucks on highways or tree outlines against a star-filled backdrop.
Stabilizing Equipment
A stable foundation is crucial for long-exposure images. Investing in a tripod, such as the Joby Gorillapod, guarantees that your smartphone stays motionless, which reduces blurriness and improves image clarity. Opt for a lightweight tripod if your focus is primarily on smartphone photography.

Choosing the Right Spot
Locating a dark area is arguably the most crucial element of night sky photography. Dark Sky Parks, such as Warrumbungle National Park in Coonabarabran, are perfect due to their limited light interference. Such places significantly enhance your opportunities to capture the splendor of the Milky Way and a multitude of stars.
Conclusion
To create stunning night sky photography with your smartphone, concentrate on having the proper equipment, modifying your camera configurations, utilizing a tripod, and selecting an area with minimal light interference. With these suggestions, your astrophotography abilities can elevate significantly.